How to back up footage on set: a DIT's data wrangling workflow
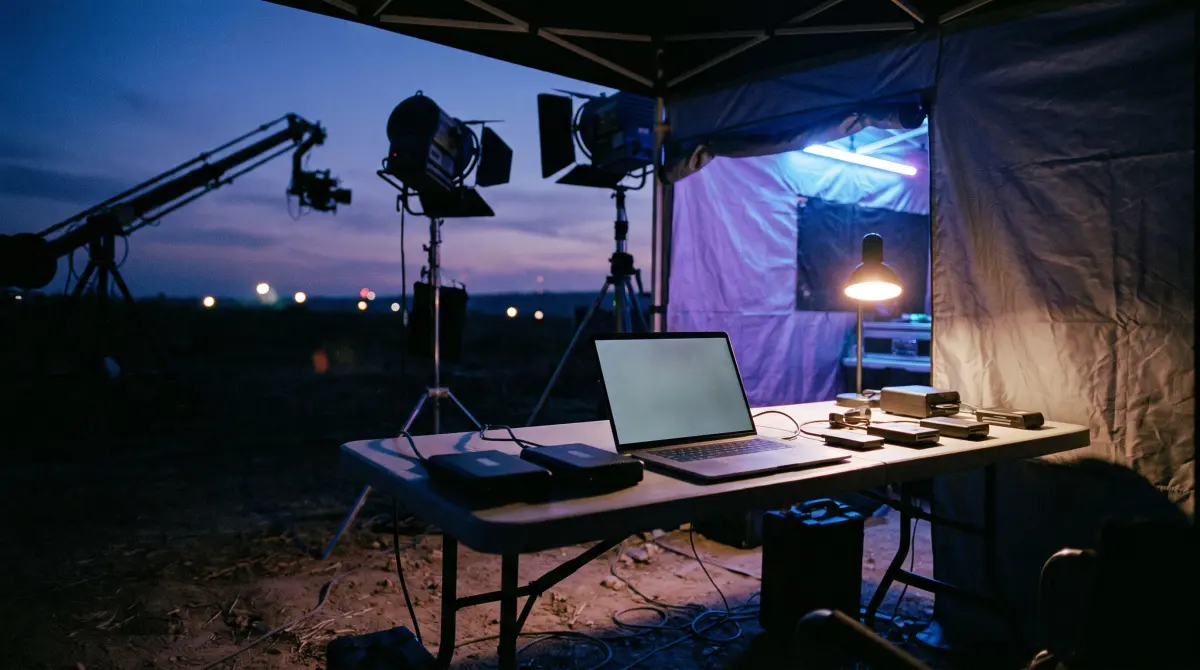
Copsy — a free Mac camera-offload app — gives you the whole on-set backup workflow in one pass: insert the card, Copsy auto-detects it, copies to at least two destinations in one offload (a drive plus a second drive, Google Drive or Dropbox), verifies every file with ASC-MHL checksums, organizes by date and source, and pings you on Telegram when it's verified.
The rule that never changes: at least two verified copies, and never format a card until it's verified. Everything below is how to do that reliably, for free.
Download Copsy for Mac → · macOS 13+ · no account needed
The five rules of on-set backup
Data wrangling on set is simple but unforgiving. A card formatted before it was verified is footage that's simply gone. Every safe workflow comes down to the same five rules:
- At least two copies. One drive is a single point of failure. End every offload with the footage on two separate physical drives, and ideally a third copy in the cloud or offsite (the classic 3-2-1 idea).
- Verify with checksums. A drag-and-drop in Finder confirms a file moved, not that it copied correctly. Hash the source and the destination and confirm they match.
- Label your drives. Project, date and card range on every drive, physically. A bin of identical black SSDs is a disaster waiting to happen.
- Organize consistently. Same folder structure on every copy — usually by date and source — so editorial can find clips without you.
- Never format until verified. The card is your only original until it's verified on two copies. Don't reuse it before that, and format in the camera, not on the computer.
Step 1 — Insert the card and detect the source
Put the camera card in a reader and connect it to your Mac. Open Copsy: it identifies the card by its content, not just the volume name, so it recognizes the camera or source (Sony, ARRI, Blackmagic/BMD, RED, Canon, drones, audio recorders) and it reads any card or volume you point it at. That detection is what lets the rest of the workflow run hands-off.
Step 2 — Make at least two copies in one offload
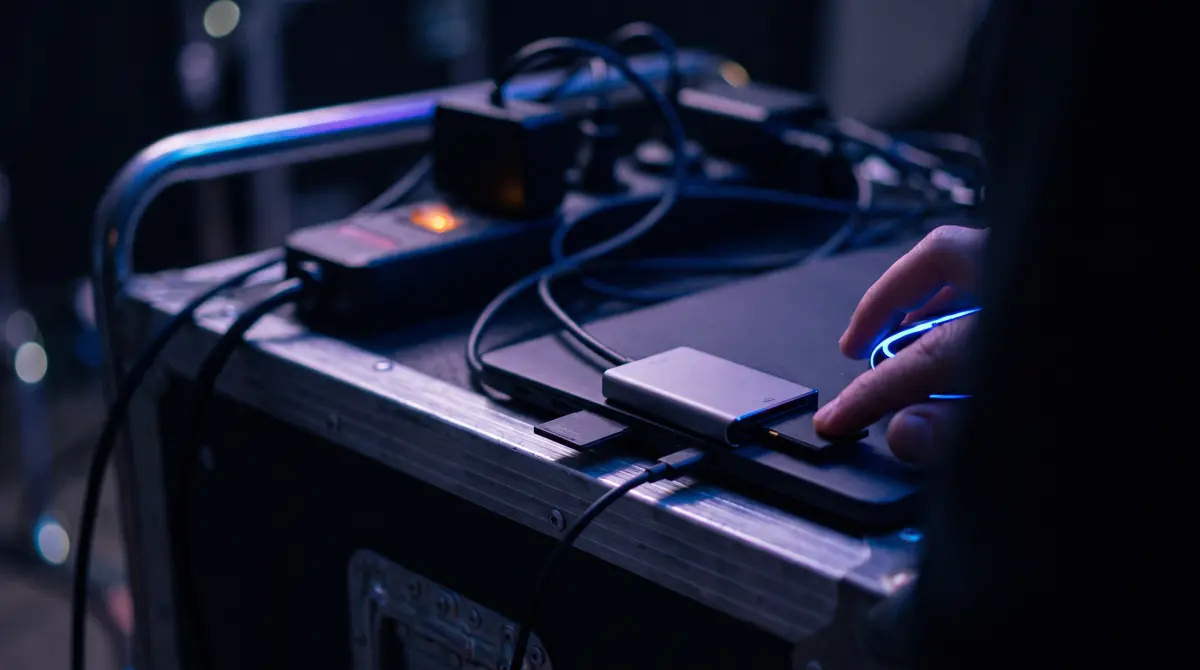
This is the rule everything else protects. Pick your primary external drive and a second destination: another drive, or Google Drive or Dropbox. Copsy copies to your destinations from one pass over the card, so you don't read the card twice and you don't end the offload holding a single copy. The card stays the original until both copies are done and verified.
Step 3 — Verify every file with ASC-MHL checksums
Copying is only half the job. Copsy hashes each source file and compares it against the copied file using ASC-MHL (the Media Hash List standard used on film sets and for Netflix-style deliveries) and writes a sidecar .mhl manifest alongside the footage. A verified copy means the data matches bit-for-bit, with nothing silently dropped or corrupted over USB or onto a tired card or drive. Because the MHL manifest travels with the footage, anyone downstream (editorial, post, archive) can re-verify it later.
What "verified" actually means
A checksum is a fingerprint of the file's bytes. If the source fingerprint and the destination fingerprint match, the copy is identical. If a single bit flipped, the fingerprints won't match and you'll know before the card is wiped — which is the entire point. Read more in how to verify a file copy on Mac and what ASC-MHL is.
Step 4 — Label and organize the copies
Copsy organizes copied footage into folders by date and source automatically, so every drive ends up with the same browsable structure instead of a pile of DCIM folders. Then do the physical part: label each drive with the project, shoot date and card range. On a multi-day shoot a stack of unlabeled identical SSDs is its own failure mode. Labeling is thirty seconds that saves an hour later. See how to organize footage by date.
Step 5 — Confirm verification, then format on the camera
Only when the MHL report shows every file verified on at least two copies do you format the card. Format it in the camera that recorded it, not on the computer, so the card's file structure is rebuilt the way that camera expects. Copsy can send you a Telegram message the moment a card is done and verified, so you can step away from the cart and still know exactly when it's safe to hand the card back.
Free on-set backup tools compared
You don't need a $100+ DIT suite to follow the workflow above. Here's how the honest free and paid options stack up for the copy → verify → organize core:
| Feature | Copsy | DaVinci Resolve Clone Tool | YoYotta |
|---|---|---|---|
| Price | FREE | FREE (in Resolve) | around $110/yr PAID (free "ID" tier) |
| Checksum verification | ✓ ASC-MHL | ✓ xxHash64 | ✓ ASC-MHL |
| Auto-detect card type (Sony/ARRI/RED/BMD/Canon/drone/audio) | ✓ | manual | partial |
| Copy to a drive AND cloud (Drive/Dropbox) in the same offload | ✓ | drives only | drives / LTO |
| Auto-organize by date + source | ✓ | — | ✓ |
| Telegram notification when done | ✓ | — | — |
| Standalone app (no NLE to open) | ✓ | needs Resolve | ✓ |
| LTO / LTFS tape archiving | — | — | ✓ |
| Platform | macOS 13+ | macOS / Windows / Linux | macOS |
Pricing and features change — figures above were last verified in June 2026. DaVinci Resolve's free Clone Tool is genuinely free and verified (xxHash64), but you must open Resolve and it won't auto-detect, copy to the cloud in the same offload or auto-organize. YoYotta is a powerful paid DIT app (LTO/LTFS, ASC-MHL) at around $110/yr for the full version, with a limited free YoYottaID tier. Check each vendor's site for current details.
Who Copsy is — and isn't — for
Copsy fits your set if you…
- Want at least two verified copies of every card without reading the card twice.
- Like a drive copy and a Google Drive or Dropbox copy from the same offload.
- Don't want to open an NLE or pay $100+ for the core "copy a card safely" workflow.
- Want a Telegram ping so you know a card is verified and safe to format.
Reach for a paid DIT suite if you…
- Archive to LTO/LTFS tape on set (that's YoYotta / Silverstack territory, not Copsy's).
- Need Windows today, or deep NLE-panel and large-studio toolchain integrations.
Frequently asked questions
Back up your next card the safe way — free
Copsy — a free Mac camera-offload app. Two verified copies, organized and labeled, never a formatted card you'll regret.
Download Copsy for Mac