SD card not showing up on Mac? How to fix it — and back it up safely
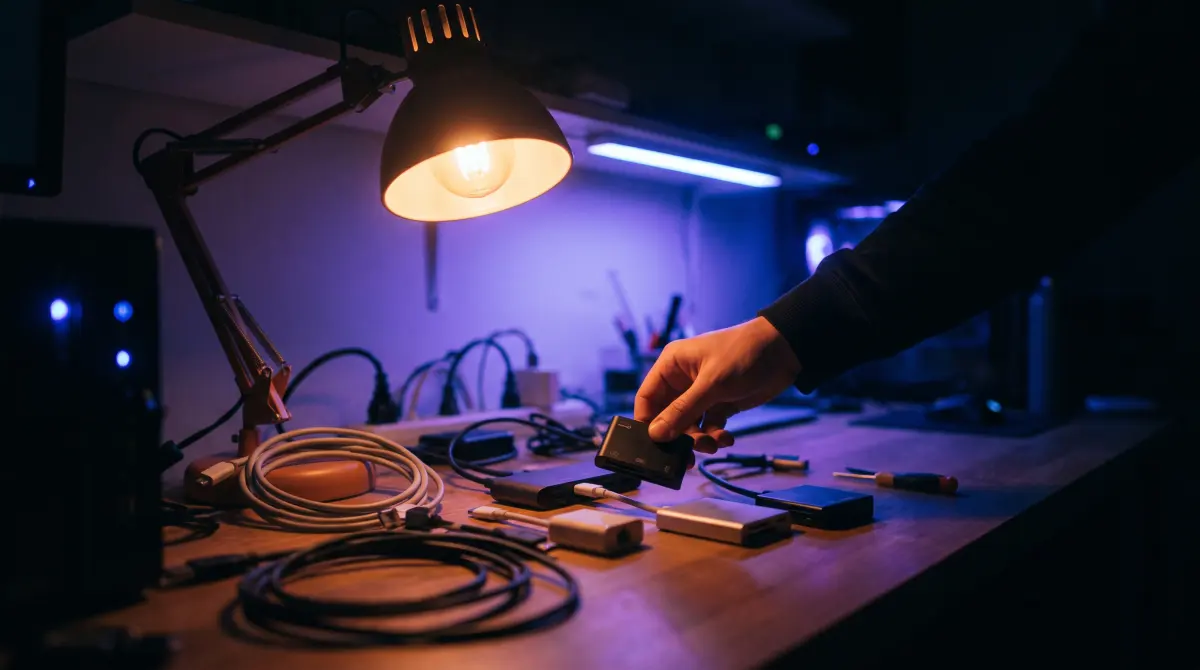
A card that won't mount is almost always a reader, cable, port or Finder-setting problem, not dead footage. Work through the checks in order: swap the reader, swap the cable, plug straight in, reseat the card, then turn on Finder → Settings → General → Show external disks. If it's still missing, open Disk Utility, show all devices, and run First Aid to repair the volume.
Do not click Reformat, Erase or Initialize while the card still holds footage you haven't backed up. That wipes it. Once it mounts, offload and verify every file with Copsy (free), then format.
Download Copsy for Mac → · macOS 13+ · no account needed
First, the one thing you must not do
⚠️ Don't reformat a card that still has footage on it
When macOS can't read a card it often pops up a dialog offering to Initialize…, Erase or Reformat it. If the card still holds clips you haven't backed up, clicking any of those wipes the card. Dismiss the dialog, leave the card alone, and work through the checks below. Formatting is the correct final step, but only after the footage is offloaded and verified. It is never the first thing you try.
Why a card "doesn't show up" — the real causes
The card itself failing is the least common reason it won't mount. In order of likelihood, the usual culprits are:
- The reader. Cheap SD / CFexpress readers fail constantly, especially with high-capacity or fast cards. This is the number-one cause.
- The cable. A charge-only USB-C cable carries power but no data, so the card will never appear. Frayed or kinked data cables do the same intermittently.
- The port / hub. A dusty or worn port, or an underpowered USB hub, can drop the connection.
- A Finder setting. macOS can mount the card perfectly and simply hide it if "Show external disks" is off.
- The card's volume. A corrupted partition map or directory means the card is detected as hardware but won't mount as a volume. First Aid can fix it.
- Genuinely dead card. Real, but rare. Rule out everything above first.
Fix it: checks in order
Go down this list and stop as soon as the card appears. Each step rules out one of the causes above.
- Try a different reader. Borrow or swap to another card reader before anything else. This resolves most cases. If your camera has a USB port, connecting the camera directly is another route to the card.
- Swap the cable. Use a known-good data cable, not a charge-only one. Test the same cable with another device to confirm it carries data.
- Plug straight into the Mac. Skip hubs, docks and dongles. Try a different port, and on a desktop, the rear ports tend to be more reliable than front/hub ports.
- Reseat the card. Remove it, check the gold contacts are clean and undamaged, and push it back in until it clicks so the contacts sit flush. Check the tiny physical lock switch on full-size SD cards isn't in the locked position.
- Show external disks in Finder. Open Finder → Settings → General and tick Show external disks, then check both the desktop and the External section of the Finder sidebar.
- Look in Disk Utility. Open Disk Utility, choose View → Show All Devices, and look for the card under its physical device. If you see the volume listed but greyed out, it's detected but not mounted.
- Try to mount it. Select the greyed-out volume and click Mount. If it mounts, jump straight to offloading. Back it up before you trust it again.
- Run First Aid. If it won't mount, select the volume (then, if needed, the parent device) and click First Aid to repair the directory and partition map. This is a repair, not an erase, and it does not wipe the card.
- Restart and retry. If everything fails, reboot the Mac with the reader unplugged, then try one more known-good reader and cable. A stuck USB stack clears on restart more often than you'd expect.
It mounted — now offload before anything else
A card that was hard to read once is a card you no longer fully trust. The moment it shows up, get the footage off it and verified. Don't shoot to it again, don't reformat it, and don't drag-and-drop in Finder and hope (a Finder copy gives you no confirmation each file landed intact). This is exactly what Copsy is for:
- Plug in / leave the card mounted. Copsy detects it by content and recognizes the camera or source — Sony, ARRI, RED, Blackmagic, Canon, drones and audio recorders.
- Pick destinations. An external drive, plus optionally Google Drive or Dropbox — copied in the same offload.
- Walk away. Copsy copies, organizes by date and source, and verifies every file with ASC-MHL checksums so you know each one copied bit-for-bit with nothing lost or corrupted.
- Get pinged. A Telegram message tells you it finished and verified.
- Only now, format. Once every file is offloaded and verified, it's finally safe to reformat the card for reuse — ideally in-camera.
Copsy is free, with no card limit and no signup. It's macOS-only (macOS 13+) — there's no Windows version, no LTO/LTFS archiving and no NLE panel integration; it focuses on doing the copy-and-verify part safely and for free.
When the card really is the problem
If a different reader, a different data cable, a direct port and Disk Utility First Aid all fail — and the card doesn't appear on another computer either — the card or its controller may genuinely be faulty. At that point, recovery is a job for dedicated photo/video recovery software or a data-recovery service; don't keep reformatting or writing to it, as that lowers the odds of getting anything back. The lesson for next time is the same one DITs live by: offload and verify a card the day you shoot it, so a single dead card is never a single point of failure.
Frequently asked questions
Offload your next card for free
Copsy — a free Mac camera-offload app. Verified copies to a drive and the cloud, nothing lost.
Download Copsy for Mac