The fastest way to offload CFexpress on a Mac
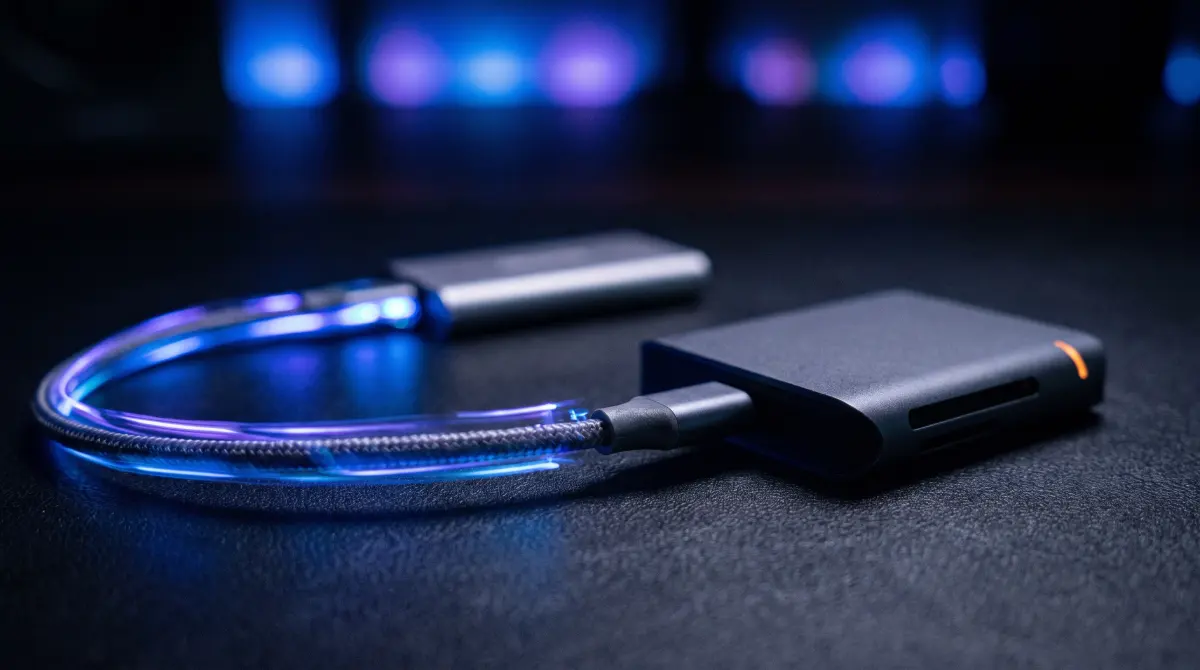
A CFexpress card is rarely your bottleneck. It can read at 800MB/s+. What slows you down is everything after the card: a slow reader, a slow destination drive, and software that verifies by reading the card a second time. Fix all three and your offload runs as fast as the card allows.
Use a Thunderbolt or USB 10Gbps+ reader, copy to a fast SSD (not a spinning HDD), and use software that hashes on the fly so verification doesn't double your wait. Copsy does the offload part for free: auto-detect the card, copy to your SSD (and optionally Google Drive or Dropbox in the same offload), and ASC-MHL-verify every file.
Download Copsy for Mac → · macOS 13+ · no account needed
Why CFexpress feels slow when it shouldn't
CFexpress Type B cards are built on PCIe/NVMe and routinely read at 800MB/s or more, far faster than the SD/UHS-II cards most people are used to. So if an offload crawls, the card almost certainly isn't the limit. An offload is a chain, and the chain runs at the speed of its slowest link:
card → reader → port/cable → your Mac → destination drive (plus verification, plus any cloud copy).
Speed up the wrong link and nothing changes. The two links that bottleneck people most often are the reader and the destination drive, and the third hidden cost is a verification pass that reads the card all over again. Here they are in order.
1. The reader is usually the real bottleneck
A 1700MB/s CFexpress card behind a cheap USB 5Gbps reader will top out around 500MB/s. You've thrown away two-thirds of the card's speed before the data ever reaches your Mac. The reader's interface, not the card, is the ceiling.
What to look for:
- Thunderbolt (3/4/5) or USB 10Gbps+ readers. These have the headroom to actually hit CFexpress speeds. A USB 10Gbps reader can sustain roughly 1000MB/s; Thunderbolt readers go higher.
- Plug into a matching port. A fast reader in a slow port is a slow reader. Check that the port on your Mac actually runs at 10Gbps or Thunderbolt speed, and use the cable that came with the reader, since a random USB-C cable may only do 5Gbps or even USB 2.0.
- Avoid daisy-chaining through slow hubs. Direct into the Mac is fastest.
Swapping a slow reader for a Thunderbolt or USB 10Gbps one is often the biggest speed jump you can buy.
2. The destination drive sets your real ceiling
You can only write as fast as the destination accepts. A spinning external HDD typically writes at 100–200MB/s, so even a blazing card and reader will stall at hard-drive speed. That's the number that ends up on your shoot report.
Copy to a fast external SSD instead. A good portable SSD over USB 10Gbps or Thunderbolt writes in the high hundreds of MB/s to over 1000MB/s, which lets the card-and-reader speed actually matter. If you're archiving to a slow HDD long-term, offload to the SSD first (fast), then move to the HDD later when you're not waiting on it.
Two more drive notes: leave free space (drives slow down when nearly full), and a freshly formatted, healthy SSD will outrun a years-old one that's been hammered.
3. Verification: don't read the card twice
Verified copies are non-negotiable on a real shoot. An unverified offload is really just hope that nothing corrupted. But how the verify happens decides whether it's free or expensive in time.
The slow way: copy the whole card, then read the entire card a second time to compute checksums and compare. That roughly doubles the card read and is where a lot of the "why is this taking forever" comes from.
The fast way: hash on the fly. Compute the checksum from the same read that does the copy, so the card is read once and you still get a bit-for-bit verified result. Copsy verifies every file with ASC-MHL checksums, the same film-set / delivery verification standard the pros use, as part of the offload, so you get a verified copy without a separate second read pass eating your time.
4. Cloud copy in the same offload — without slowing the drive
If you also want an off-site copy, the worry is that uploading to the cloud will throttle the whole offload to your upload speed. It shouldn't. Copsy copies to your external drive and to Google Drive or Dropbox in the same offload: the cloud upload runs alongside the local copy rather than gating it, so the drive finishes at drive speed while the cloud catches up over your connection.
That means your local, verified backup is done on the same timeline it would be without the cloud. You're not trading offload speed for an off-site copy.
The fast CFexpress offload setup, in one list
Match every link to the card's speed
- Fast reader: Thunderbolt or USB 10Gbps+, not a USB 5Gbps reader.
- Fast destination: a portable SSD, not a spinning HDD.
- Right port + cable: a matching Thunderbolt/10Gbps port and the reader's own cable, plugged direct into the Mac.
- Hash-on-the-fly verify: ASC-MHL checksums during the copy, so you don't read the card a second time.
- Parallel cloud (optional): Google Drive or Dropbox copied alongside the drive, not blocking it.
How Copsy offloads a CFexpress card
- Plug in the card. Copsy detects it by content and recognizes the camera/source (Sony, ARRI, RED, Blackmagic, Canon, drones, audio recorders).
- Pick a fast destination. An external SSD, plus optionally Google Drive or Dropbox, copied in the same offload.
- Walk away. Copsy copies, organizes by date and source, and verifies every file with ASC-MHL checksums during the offload.
- Get pinged. A Telegram message tells you it finished and verified, nothing lost, no babysitting the progress bar.
A quick honesty note: software can't make a slow HDD or a USB 5Gbps reader fast. Copsy's job is to copy and verify as efficiently as possible (no second read pass, cloud in the same offload), but the hardware setup above is what actually determines your top speed. Copsy is macOS 13+ only; there's no Windows version and no LTO/LTFS or NLE-panel integration.
Frequently asked questions
Offload your next card for free
Copsy, a free Mac camera-offload app. Verified copies to a drive and the cloud, nothing lost.
Download Copsy for Mac